RV inverters are designed to convert DC (Direct Current) power from the RV’s batteries to AC (Alternating Current) power for use in AC appliances and devices.
Certain models also feature a battery charging function, allowing them to charge the RV’s batteries when connected to an external power source such as a generator or shore power.

This type of inverter is known as an ‘inverter charger’ or a ‘hybrid inverter’.
However, the charging capacity and capability of an inverter charger may vary depending on its design,
so it is important to consult the manufacturer’s instructions to determine its specific charging capabilities.
Here are a few RV inverters that can charge RV batteries.
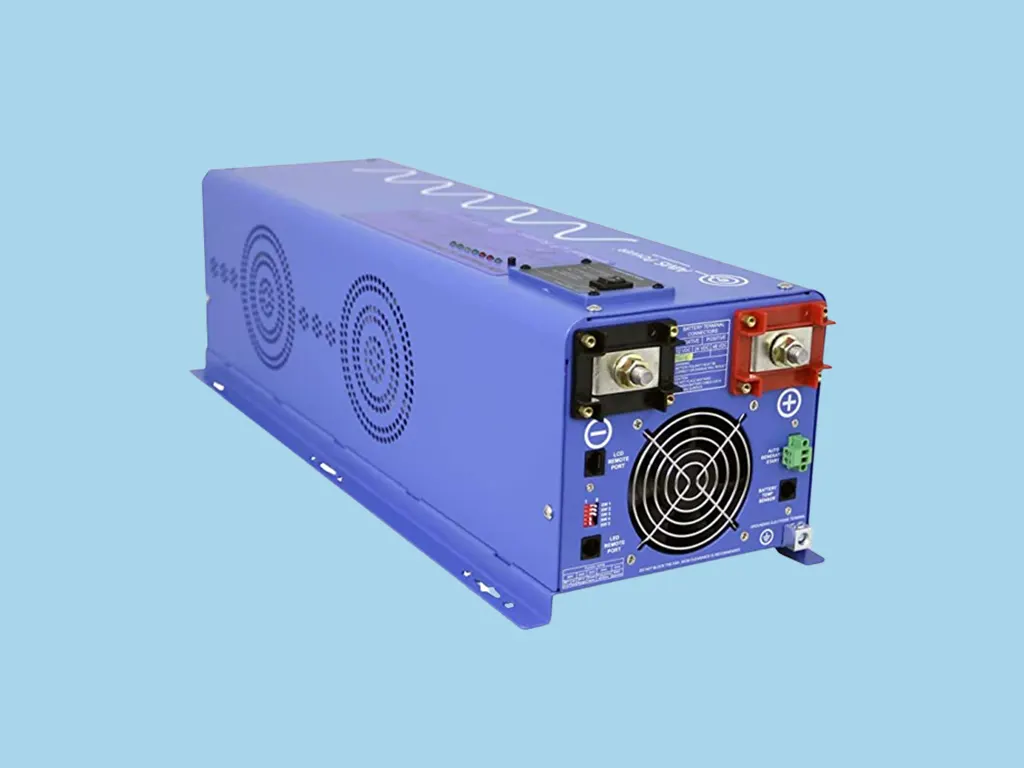
AIMS Power 6000 watts Inverter Charger

The AIMS Power 6000 Watt Pure Sine Inverter Charger is a 24Vdc / 240Vac input and 120/240Vac split phase output device. It has a continuous output power of 6000 Watts and a surge rating of 18000 Watts for 20 seconds. It also features an auto transfer switch and low frequency power. The build in smart charger have 85 amp capacity and supports 8 different battery types.
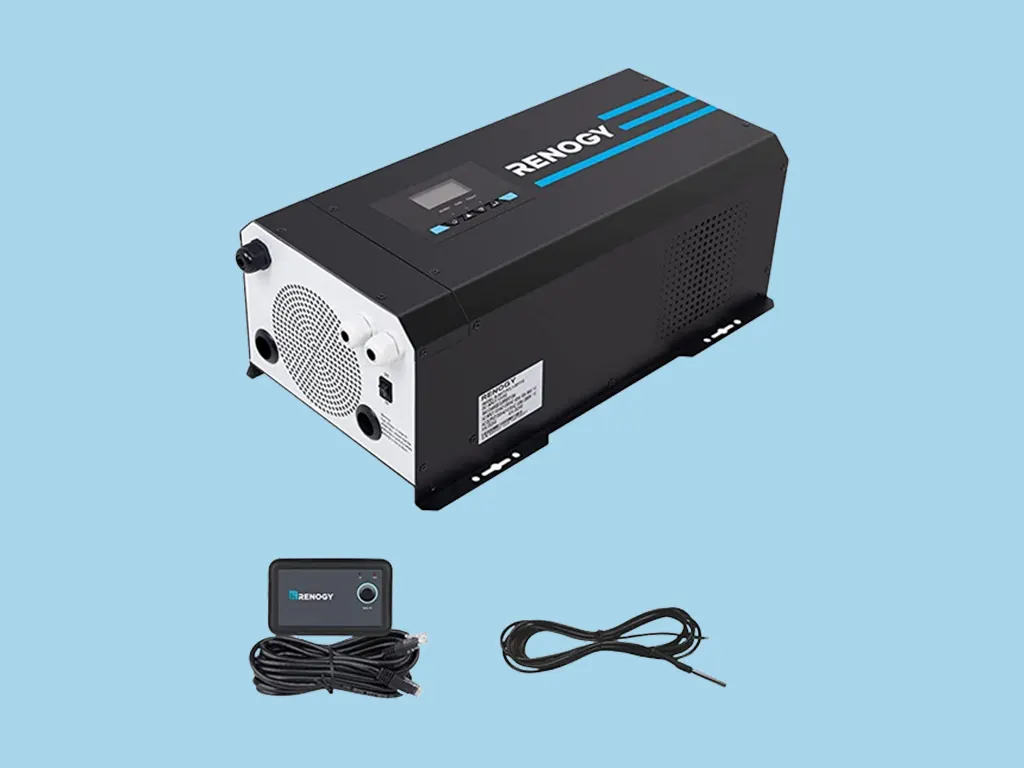
Renogy 2000 watts Inverter Charger

Renogy’s Pure Sine Wave Inverter is an affordable option for those with low power requirements.
It can provide 2000 watts of continuous power and up to 6000 watts of surge power.
It can be manually configured for the best results, with an input voltage range of 90 to 138 volts and a charging current for the battery.
It also has 4 pre-designed stages of charging and supports 8 different standard battery types, including lithium batteries. The inverter is quiet and reliable, and Renogy offers a 2 year warranty.
How do I know if my RV converter is charging my battery?

To check the capability of an RV inverter to charge a battery, you will need to first understand the RV inverter’s specifications.
You should be able to find the output voltage, amperage, wattage, and battery charging type (Manual, Automatic, or Adaptive) on the inverter’s manual or online.
Once you have this information, you can begin the process of testing the RV inverter’s capacity to charge a battery.
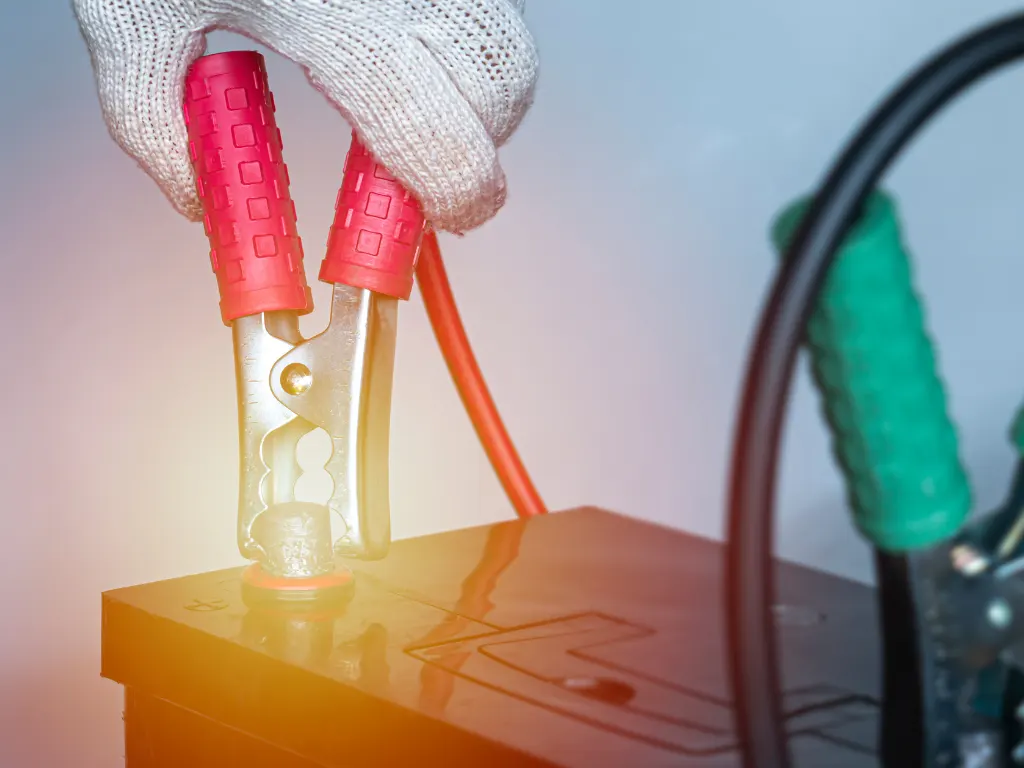
First, you need to select a battery to test the inverter on. The battery should have the correct voltage, amperage, and wattage to match the RV inverter’s specifications.
Next, you need to connect the RV inverter to the battery. Once the connection is made, you will need to turn on the inverter and set it to the battery charging type (Manual, Automatic, or Adaptive).
Once the inverter is set, you can start the process of testing its ability to charge the battery. To do this, you will need to monitor the battery’s voltage over time.
If the voltage increases over time, then the RV inverter is capable of charging the battery.
If the voltage does not increase, then the inverter may not be compatible with the battery or may not be capable of charging it.

Eng. Matthew Joseph Nandirio is the Founder of walkingsolar.
After graduating from the University of Houston in 2002, matt started working as a Solar Electrical Engineer for several multi-national solar energy companies.
He has a wide range of experiences including solar system requirement analysis, planning, maintaining, debugging and even solar device development through research.
He now shares his 20 years of expertise through his articles on the walkingsolar website.
Further, he is also the author of two books on Solar Technology, “Solar Power for Villages” and “DIY Solar System for Dummies”.
