As Lifepo4 battery usage is constantly growing, you might want to use it with your solar power installation.
Here in this article, I’ll show how to charge the LiFePO4 battery pack with solar power and every other related thing. So, let’s begin.
Can I Charge LiFePO4 Battery With Solar Power?
Absolutely, yes. Solar power is one of the best ways to charge your LiFePO4 battery pack. You can use any kind of charging gear to charge your battery pack with solar power as long as its voltage is within 14.6V for a 12V LiFePO4 battery pack.
Experts highly recommend using solar panels to charge your LiFePO4 battery pack. The main reason is that the energy in your battery pack does not come from another source; instead, it comes from solar panels.
In my opinion, the most vital benefit of using solar power is that you will get a constant charge in your battery from a natural source, and the system is pretty much the same whether it’s in your home or RV.
Make sure the solar panel’s charging specifications are compatible with your LiFePO4 battery pack.
Which Solar Charge Controller Is Good For LiFePO4 Battery?
A charge controller is a must-have component if you want to charge your LiFePO4 battery pack with solar power. There are two types of charge controllers based on conversion type. Let’s discuss them in detail.
PWM: Pulse Width Modulation charge controller
PWM charge controller is a switch that connects the solar array to your battery. It flicks On and Off as required to maintain a battery voltage at the absorption voltage.

The controller reduces the solar panel’s voltage and makes it closer to your battery’s. As the battery is about to be fully charged, it lowers the amount of power, and the extra energy is wasted.
MPPT: Maximum Power Point Tracking charge controller
MPPT charge controllers are a kind of smart device. They check solar panels’ output power and compare it with the battery voltage. After that, it can set the best power from the solar panels to match to best charging voltage for the battery to deliver maximum current.

According to “A Comparative Study of MPPT and PWM Solar Charge Controllers and their Integrated System,” MPPT charge controllers can make optimum use of available energy from solar panels and provide at least 20% more current to the battery than a PWM charge controller.
A PWM charge controller is cheaper but less efficient. On the other hand, an MPPT charge controller is expensive but more efficient as well. That’s why the MPPT charge controller is better for charging your LiFePO4 battery pack with solar power.
How to charge LiFePO4 with Solar power?
You can charge your LiFePO4 battery pack with a standard commercial solar power module. In this case, you can use any charge type as long as it’s compatible with your battery pack.
Also, there are two ways you can charge LiFePO4 batteries. Series charge and parallel charge.
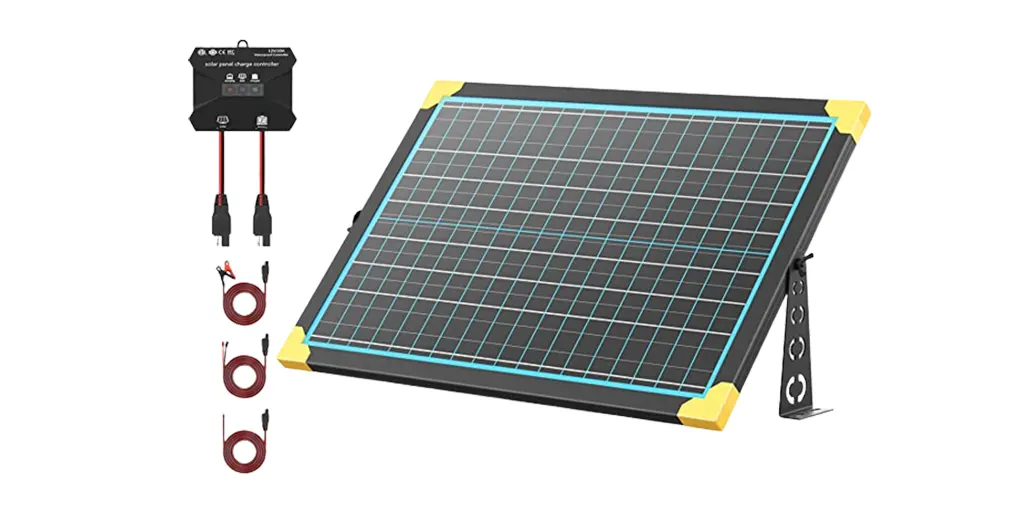
Components Needed For The Set-Up
Since charging with solar panels is not similar to other sources, you will need all the necessary equipment for a standard commercial solar panel setup.
You will require the following components for charging your LiFePO4 battery pack with solar panels.
| Solar Panels | A Charge Controller |
| An Inverter [if you draw the power from the battery for AC devices] | A LiFePO4 Battery Pack |
| An External Charger [optional] | A Voltage Meter [optional] |
| Necessary Wires | A Battery Management System |
| An Amp Meter [optional] | Fuse and switches |
A Step-By-Step Process Of Charging LiFePO4 Battery Pack With Solar Power
Generally, a LiFePO4 battery pack requires 2 stages for charging and does not need any float charging. But in the case of solar charging, you should allow float charging since the inverter will draw some load.
Here’s a step-by-step process to charge your LiFePO4 battery pack with solar power.
Step 1: Install Your Solar Panel
In the first step, you have to install your solar panel. Make sure all your solar panels are installed and working correctly. You will have to connect your solar panel with an MPPT or PWM charge controller. Now your solar panel is ready to connect with your battery.
Step 2: Make a Connection To Your Battery
Now, it’s time to connect your solar energy with your battery. There are two ways to do that. If you want to charge temporarily, you can use any charger to charge your LiFePO4 battery. For example, a lead-acid battery charger, external power charger, or a smart charger.
It’s just the charger’s specification has to be in line with your battery’s. For starters, the charger’s voltage cannot exceed 14.6V for a 12V LiFePO4 battery pack.
You must create a permanent connection if you want to use your LiFePO4 battery pack as a permanent battery bank for your solar installation.
For that, if you have an integrated BMS with your LiFePO4 battery pack, you can simply use a single pole and single throw toggle switch with a 20 amp current rating [amp rate needs to be correctly calculated based on your setup] to provide isolation for maintenance.
To create a strong and low resistance connection, tighten the screw well in the positive and negative battery poles. You can also solder them for an even tighter connection.
Step 3: Meter Your Battery Pack
You have to install meters on your battery pack to measure the amp per hour capacity of the battery pack. Using low-cost amp meters will be just fine. You will get 3 amps per meter.
If the amp hour capacity of your battery pack drops below 60% of the actual value, then you have to replace it. This way, you can monitor the current in your battery pack using amp meters.
Step 4: Create A Plug N Play System To Deliver Power [optional]
In this step, you have to create a system to deliver power from your battery pack [using an inverter]. You should use a plug n play system. It is convenient and fast.
Remember that the DC rating is higher than AC for cables and connectors. You will have to use your cables and connectors following that.
Step 5: Run A Thermal Test [optional]
In this stage, you can do thermal imaging of your connection to ensure everything is okay. You should do it at night while the battery is at maximum load.
See if there is any issue with any point of the connection. You can also check the thermal performance of your LiFePO4 battery pack. Generally, LiFePO4 batteries are thermally strong. Thus, they should be fine.
Step 6: Testing Correct Voltage For Charging [optional]
You can test whether your battery is receiving the right amount of voltage from your solar panels. You will have to use a voltage meter for that.
Various Charge Profiles for LiFePO4 Battery

Here’s a table showing various charging profiles of the LiFePO4 battery.
| Profile | Absorption | Float | Inverter Cut-off |
| 12V LiFePO4 Battery With BMS | 14.5V | 13.6V | 10.7V-12V |
| 24V LiFePO4 Battery With BMS | 29V | 27.2V | 21.4V-24V |
| 48V LiFePO4 Battery With BMS | 58V | 54.4V | 42.8V-48V |
For charging your LiFePO4 battery pack with solar power, the charge controller has to be rightly programmed for your battery pack. Otherwise, you won’t be able to charge your battery. You can check your charge controller manual to be sure if it’s good for LiFePO4 batteries.
Final Thoughts
Charging a LiFePO4 battery with solar power is a pretty good option, provided that you have the correct charge controller, which is programmed for this battery pack. But make sure there’s always a load attached to your battery.
References
1. A. Sreeramana., A. P. Sridhar. (2020). A Comparative Study of MPPT and PWM Solar Charge Controllers and their Integrated System.
2. R. Thomas et al. (2012). Use of LiFePO4 Batteries in Stand-Alone Solar System.

Eng. Matthew Joseph Nandirio is the Founder of walkingsolar.
After graduating from the University of Houston in 2002, matt started working as a Solar Electrical Engineer for several multi-national solar energy companies.
He has a wide range of experiences including solar system requirement analysis, planning, maintaining, debugging and even solar device development through research.
He now shares his 20 years of expertise through his articles on the walkingsolar website.
Further, he is also the author of two books on Solar Technology, “Solar Power for Villages” and “DIY Solar System for Dummies”.
